In this tutorial, we will begin our preparations in order to create a complete game for the C64. The game will feature multicolor sprites and characters, so some info is in order.
MultiColor characters enables the user to render 40×25 times 4×8 characters with 4 colors each. However, as always with the C64, there are several restrictions.
- Even though there are 4 available colors, color 0 is defined from the background and is common for all multicolor characters on the screen.
- In addition, color 1 and 2 are *also* restricted as “global” colors, meaning that all characters on the entire screen will display the same two colors (of a selection of 16 each)
- Only the third color, color 3, can be chosen independently per character (as written to color ram at $D800). However, there are some limitations here as well: as bit 3 of color ram needs to be set to 1 during multicolormode, we are effectively restricted to a palette of 8 colors – from 0 to 7.
In this tutorial, we will use the full-screen editor to create and display a simple full-screen multicolor character image of your choosing.
First, start the Turbo Rascal SE edior, and click the “Image resources” tab. Select “New” and choose “C64 Multicolor Charmap“. You now have an empty set of multi color characters. If you happen to have a binary 2Kb multicolor binary file around, you can import this into the editor. Mind you, importing non-multicolor character sets into the multicolor editor will work, but the characters will look distorted. Here’s an example of a non-multicolor imported character set:
Let’s clear this image, and select our three fixed multicolor colors for this particular screen:
- Select background to be black (in the color tab)
- Select MC1 to be dark red (#2) (in the charmap tab)
- Select MC2 to be dark grey (#11) in the charmap tab)
Here’s what I ended up drawing: a mushroom-like structure, some 2×2 repeatable tiles and some grass. The fixed three colors are previously defined, but the fourth color (here green) is chosen at random: this color will be set on individual positions when using these characters to create a screen.
Export your character map as binary, this one was stored under charmaps/tutorial11_mc.bin
The Fullscreen Editor
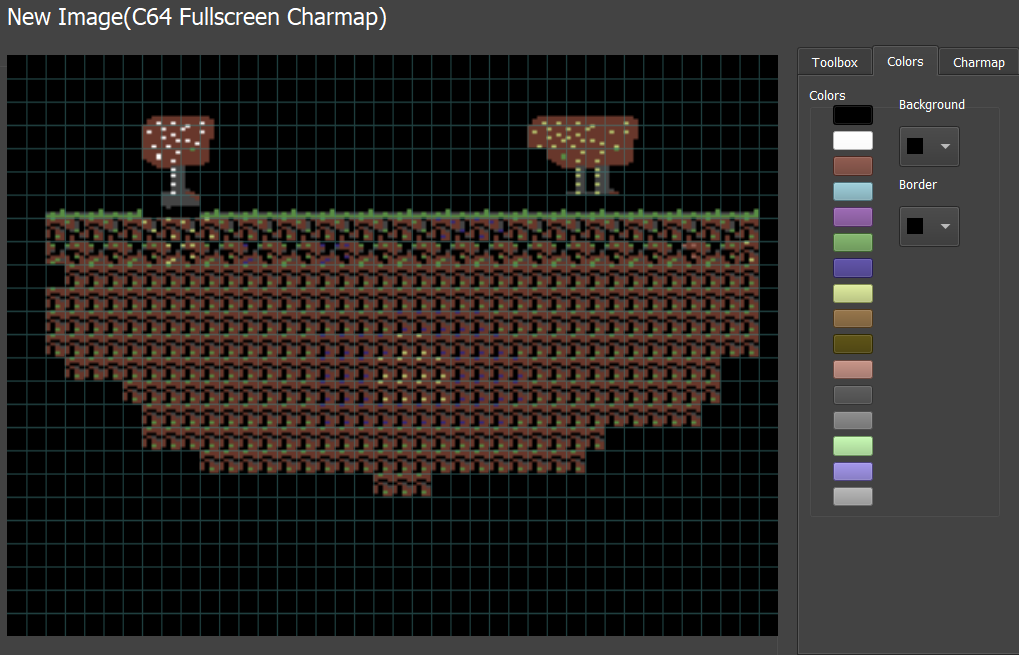
Create a new image of type “Fullscreen Character“. Now, on the “charmap” tab to the left, you can load your previously exported character map. You’ll get a list of all the available characters. In addition, remember to set the background/MC1/MC2 colors to black, dark red and dark grey.
You can now paint these characters onto the screen by clicking on a character and using the paint tools. If you select the color tab, you can paint colors – remember, one of these 8 available (0-7) colors that was previously mentioned.
Here’s what I made in 5 mins
As previously mentioned, the four base colors are fixed, but some variation is allowed by changing color #3 of the multicolor character maps.
Now, export your image as a binary file (2000 bytes), and check out the tutorial 11 Turbo Rascal program:
program Tutorial11;
var
	 mainChar: IncBin("charsets/tutorial11_mc.bin","$2800");
	 screen: IncBin("screens/tutorial11_screen1.bin");
begin

	setmulticolormode();
	// Set character location at $2800 = $A*$400
	poke(VIC_DATA_LOC, 0, $1A);

	// Copy color information
	copyfullscreen(screen + ^1000, ^$D800);
	// Copy screen information
	copyfullscreen(screen, ^$0400);


// Set the fixed three multicolor colors
	poke(MULTICOLOR_CHAR_COL, 0, BLACK);
	poke(MULTICOLOR_CHAR_COL, 2, RED);
	poke(MULTICOLOR_CHAR_COL, 1, DARK_GREY);

// Loop
	Loop();

end.
All the steps here should be quite clear by now. Note that the color information is stored *after* the character data.
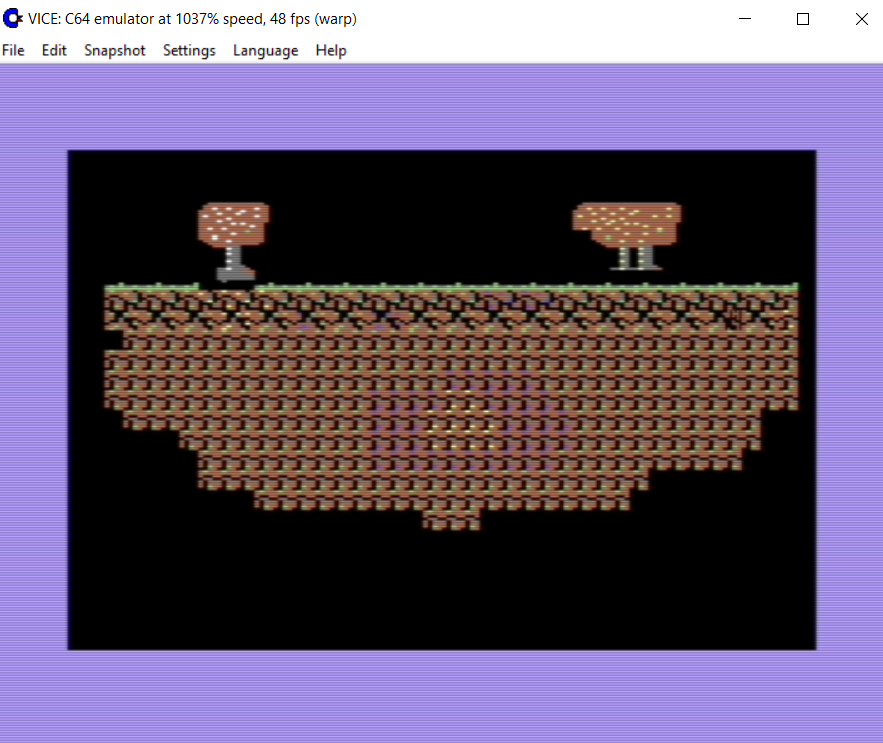
Here’s the program running in VICE:
The Issues
So. One level = 2000 bytes? That means.. at maximum, perhaps 15 screens can be stored. Which really isn’t that much for a game.
The next tutorial (which might take some while to complete) will cover this issue, by using our built-in level editor. Here, we’ll be able to squeeze an entire level down to a manageable size.


